Wallet Installation Guide
This wallet installation guide assumes you are doing a fresh installation with no previous I/O Coin wallet files on your system. All I/O Coin wallet installation files can be found within the I/O Coin Github Wallet Releases. For quickly syncing the blockchain you can use the bootstrap files.
This wallet installation guide assumes you are doing a fresh installation with no previous I/O Coin wallet files on your computer.
Go to the Wallet Releases page on the I/O Coin Github and download the .exe wallet file.
After downloading the wallet run it to install the wallet. The default location for the wallet is:
C:\Users\username\AppData\Roaming\IOCoinThe default location for the daemon is:
C:\Program Files (x86)\DIONS HTML5 WalletWhen the installation wizard is done, tick the box and run the wallet.

On the next screen, click the New / Import Wallet button.

Navigate to the location where you would like to store your wallet and click Select Folder.
Done! You have successfully installed the wallet and the wallet is now syncing with the I/O Coin blockchain.

To speed up syncing the blockchain you can follow the Bootstrap Installation guide.
Go to the Wallet Releases page on the I/O Coin Github and download the .dmg wallet file.
After downloading the wallet run it to install the wallet. You will get the following screen:

Drag the 'iocoin-html5-wallet' file to the Applications folder and the 'iocoind' to the bin folder. Sometimes it happens that it is not possible to drag the iocoind file to the bin folder because the bin folder does not exist yet. If this is the case for you press
Command-Space barand type/usr/localand press Enter. Here you can create the bin folder. Return to the installer and try dragging the iocoind file to the bin folder again.Now run the wallet from your Launchpad.
Depending on your settings you may get the following pop-up:
 If this is the case for you click Cancel and go to System Preferences > Security & Privacy and click Open Anyway.
 Type in your password, press Enter and click Open.

On the next screen, click the 'New / Import Wallet' button.

Create a folder in the location you would like to store the wallet and navigate to that location and click Open.
Again, depending on your settings you may get the following pop-up: To resolve this click OK and go to System Preferences > Security & Privacy and click Allow Anyway. Now, re-open the I/O Coin wallet.
If the below popup appears, just click Allow otherwise your wallet will not be able to pick up any connections.

Done! You have successfully installed the wallet and the wallet is now syncing with the I/O Coin blockchain.

To speed up syncing the blockchain you can follow the Bootstrap Installation guide.
1. Update your distro and install required dependencies.
2. Change your directory to your Downloads folder.
3. Download the wallet release script. Verify on github latest version.
4. Grant the script read, write, execute permissions.
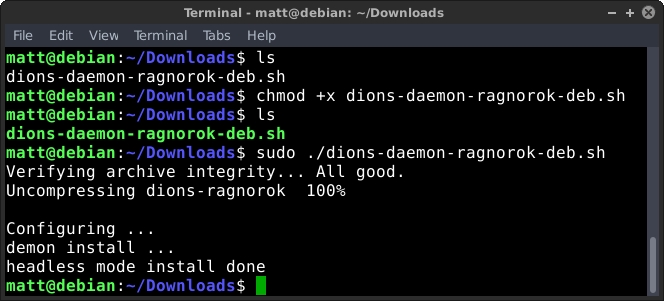
5. Run the wallet script.
There will be a feedback message in the terminal stating the daemon was installed as sampled in the picture. Screenshots reference Ragnorok version but are similar for newer versions.
6.Then run the daemon. Running the daemon will create the folder structures. Use the & at the end to run as a background process.
You will be prompted to create an iocoin.conf file with rpcuser and rpcpassword as seen from the terminal feedback.
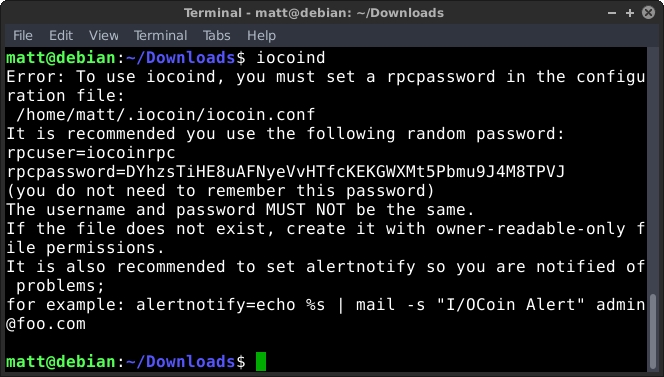
7. Create the iocoin.conf file using nano. Copy and paste the rpcuser and rpcpassword into the iocoin.conf file.
8. While in the nano text editor, input your user and password information. Please create a user and your own password. Also, input the supernode information as seen in the sample screenshot below. After we open the wallet for the first time and encryptwallet you can change your wallet password.
Sample folder structure after creating the iocoin.conf file.
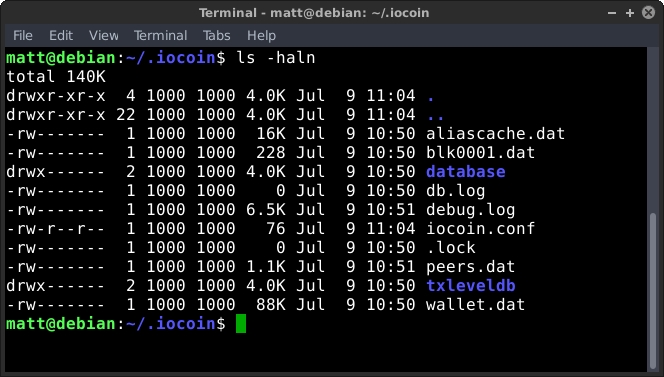
9. The iocoin.conf file has been created, go ahead and start the daemon again.
Now that the daemon is running in the terminal as a background process, we can continue working in the same terminal window. At this time, the daemon is starting to sync the whole blockchain from the beginning. You can run the top command just to make sure iocoind is running. Press q to exit top.
Debian Wallet Graphical User Interface (GUI)
At this point, you can choose to run the Debian wallet headless or use the traditional wallet graphical user interface. The graphical interface file is located in the /opt/dions/ directory.
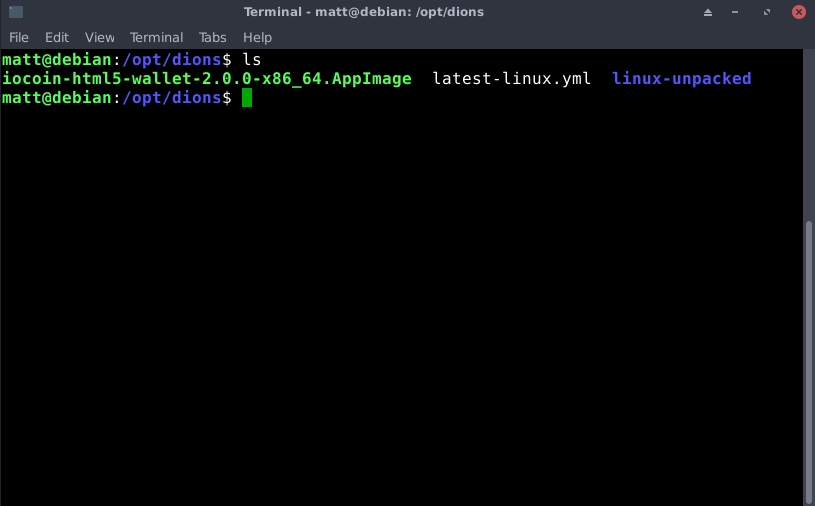
10. Run the wallet either through terminal or by double clicking on the file in the File Manager.
Terminal Command:
or
File Manager program navigation. Double click on the file called iocoin-html5-wallet-2.0.0-x86_64.AppImage 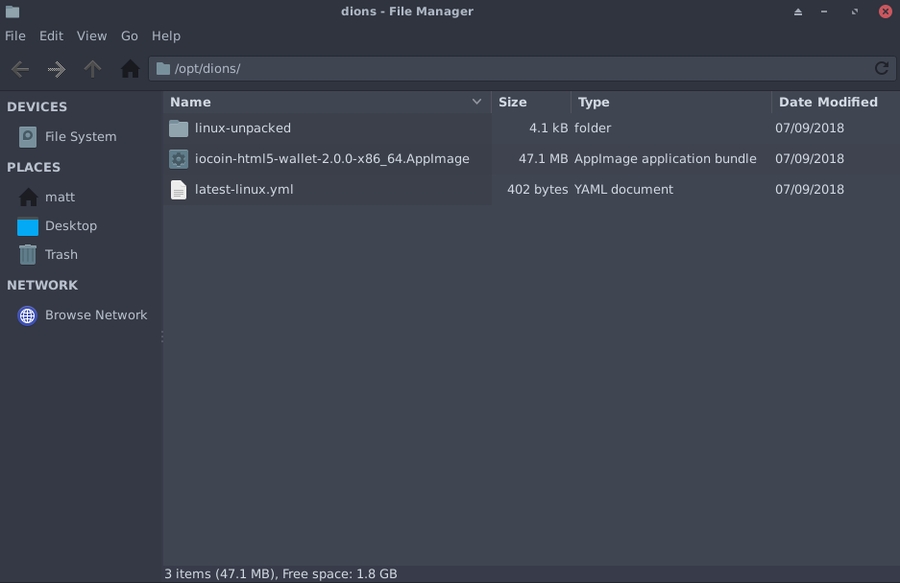
When you open the wallet for the first time, click New/Import Wallet. Then navigate to the .iocoin directory. Directories beginning with a . are hidden directories within a linux environment. At the next screen, right click in the directory window and select "Show Hidden Files". Then just single left click (highlight) the .iocoin directory and press ok. For reference, file path is:
Once you confirm the folder, the I/O Coin logo will pulse while the daemon and wallet get started. After it is ready, the wallet will open and it should start syncing and picking up connections immediately.
Last updated